1.Download and Decompress Eclipse IDE for C/C++ Developers
2.Download and Install MinGW
- Directory : C:\MinGW
- Environment Variable [PATH] : PATH=C:\MinGW\bin
- Renaming C:\MinGW\bin\mingw32-make.exe to C:\MinGW\bin\make.exe
3.Installing Eclipse Plugin : C/C++ Development tool CDT
- Go to
- Add CDT to Available Software Sites
- Select the main CDT Plugin for installation : CDT Main Features
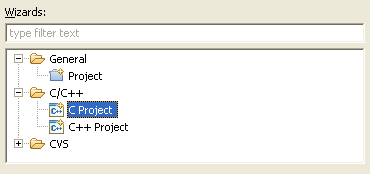
4.Click
5.Select C Project
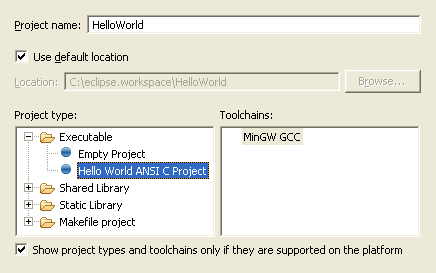
6.Name the project as Hello World
7.Select project type as Hello World ANSI C Project
8.Select Tool-chain as MinGW GCC
9.Click button
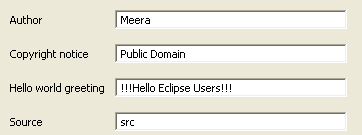
10.Input your details
11.Click button
12.Select
13.Select Current bulder as Gnu Make Builder
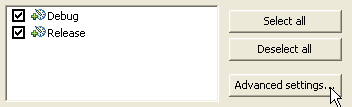
14.Click button
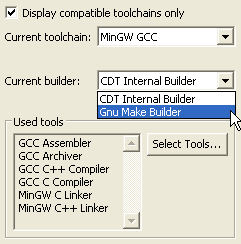
15.Click button
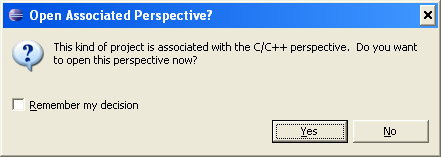
16.If you get a message to switch perspective, Click Yes
This happens if the previous perspective was not C/C++ perspective.
This is how the Project Explorer view would look like.
1.The name of the project HelloWorld
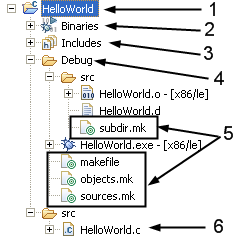
2.Eclipse would list executables and libraries of the project here.
3.Eclipse would list include directories and header files here.
4.Eclipse generated folder. The name is derived from the build configuration.
5.Eclipse generated Makefiles
6.The actual source file.
To build the project, do either of:
Ref :
http://eclipsebook.in/advanced-eclipse/extending-eclipse/installing-cdt/
http://eclipsebook.in/c-cpp-development/building-code/build-eclipse-managed/

沒有留言:
張貼留言